ON THE BLOG

ON THE BLOG
Introducing the Ultimate Mother's Day gift box! This luxurious gift box is filled with a carefully curated selection of home and body fragrances that will pamper and indulge the senses of any mother.First, the home fragrances include a set of two scented candles in different sizes and scents, two types of diffusers, and a diffusing oil. The candles are made with natural soy wax and feature long-burning wicks. Each scent is carefully made to create a relaxing and inviting atmosphere at home, choose your favorite.Next, the body fragrances include a premium perfume that is perfect for everyday wear. RXLA perfumes are made with high-quality ingredients that are long-lasting and non-irritating. Also for body we included a charcoal soap and hand sanitizer. To complete the gift box, a room spray, scented sachet and lighter. This totals to 12 awesome items.This Mother's Day gift box is the perfect way to show your appreciation for the special woman in your life. It is a thoughtful and heartfelt gift that will be cherished for years to come.
Shop All Gifts Here
View Gift Box Here


ON THE BLOG
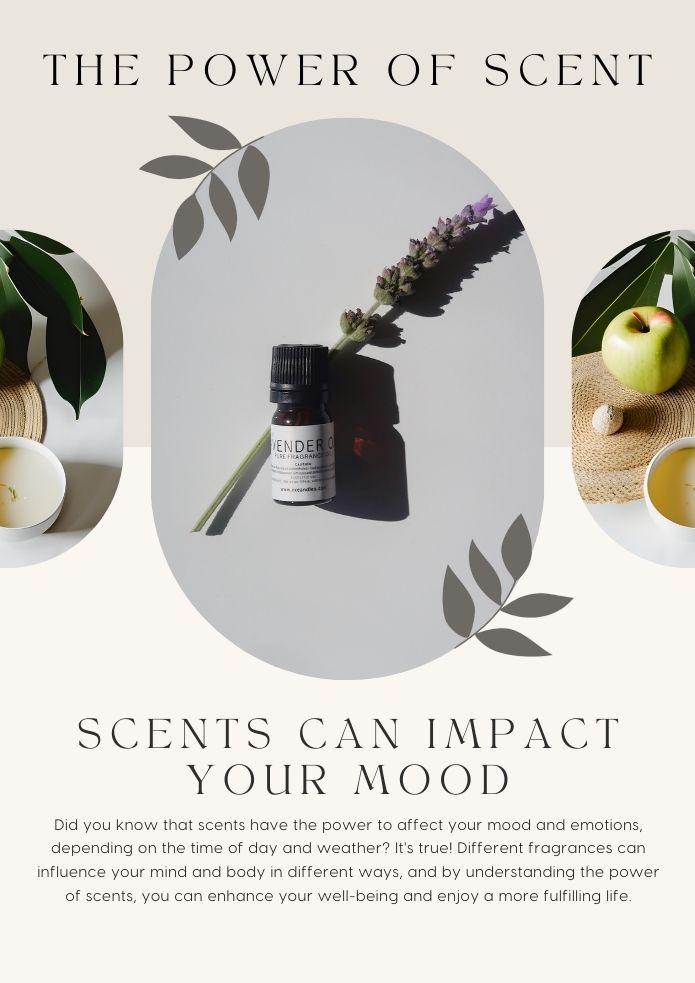
Discover the Power of Scents and Their Impact on Your Mood and Home
The power of scent on your mood

ON THE BLOG
Exclusive Sales for Black Friday
Sign up to our emails and save! I personally send out newsletters, so no spam coming your way.
Sign up here:
https://rxcandles.attn.tv/p/t4d/landing-page

ON THE BLOG
Shop Gifts Here:
https://www.rxcandles.com/collections/gift-boxes-new-website
Shop Room Sprays Here:
https://www.rxcandles.com/collections/room-spray-new-website/products/room-spray-new-website
Don't miss out on another sale! Sign up for newsletters.
ON THE BLOG
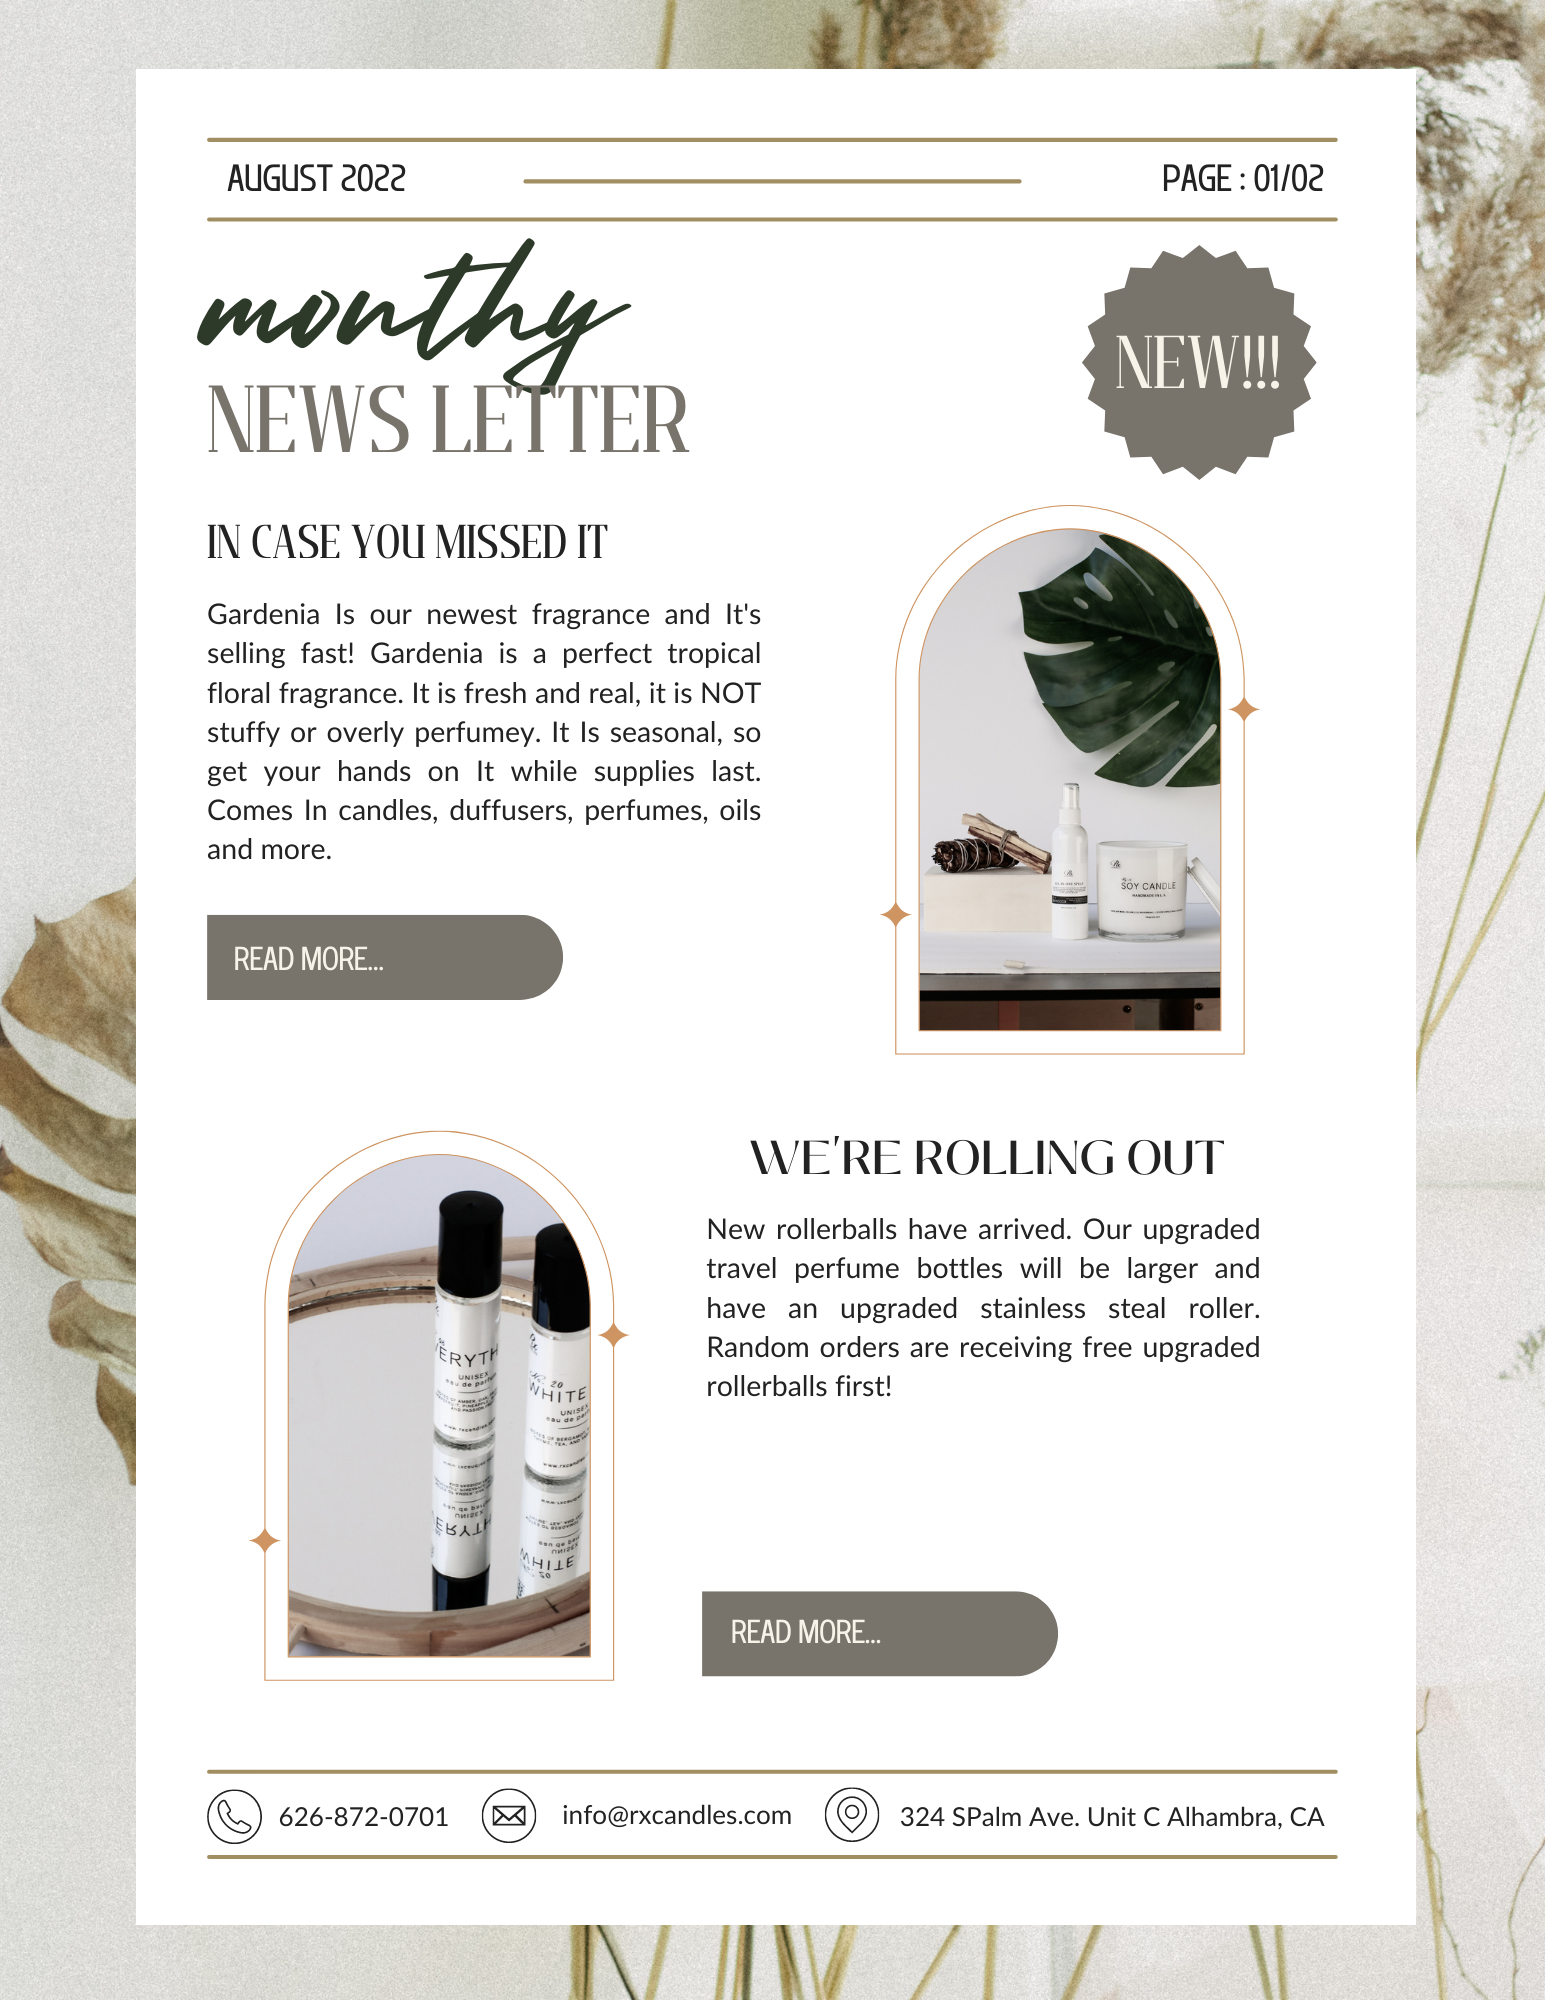
August Happenings:
Pop-Up Schedule: Find us @melrosetradingpost and @smorgasburg every Sunday in August.
We will also be @626nightmarket 8/26-8/28
Warehouse Sale: We're aiming to have our annual warehouse sale online around the week of August 14th! We're clearing out imperfect and seasonal scents. So be on the lookout for the announcement via newsletters and SMS texts.
Sign up for texts: https://www.rxcandles.com/?attn_creative_id=129659
Gardenia: In case you missed it, Gardenia is our newest fragrance! It's here for a limited time, and it's selling fast. It comes in candles, diffusers, room sprays, all-in-1 sprays, perfumes, and incense.
NEW Rollerballs: We've upgraded our rollerball perfumes! These are one of our best selling products. The new larger vile also features a stainless steel rollerball. We're randomly selecting some packages to receive a free rollerball upgrade. All the rollerballs will be upgraded online soon!
https://www.rxcandles.com/collections/perfumes-new-website/products/travel-roller-perfume-new-website
NEW Travel Set: By request, we are putting together a travel set! Did you know having a candle with you while traveling can make you feel more comfortable in your surroundings?! Sounds a little "extra" but trust us, having your fav fragrance with you is a game changer. OR use our travel set to try out new fragrances :)
NEW Diffusers: New reed diffuser bottles are coming out. We have a new high end bottle. The glass is thicker, and it has a beautiful black screw top to disperse the reeds.
NEW Diffuser Refills: By demand, we are introducing a diffuser refill bottle! Now you can keep your luxury reed diffuser bottle and simply buy a refill. The refill bottle with fill 2.5 bottles of the new jars. It doesn't have to be full either, so you can fill your diffuser jar up as high as you like, and conserve the refill. Comes with 2 sets of new reeds.
NEW 50 oz Candle: Our new XL 50 oz candle is even larger. It comes in a taller vase, and looks even more luxurious. It is $198 and now comes with one FREE refill! Refills are $75, so this candle can be used over and over again.
https://www.rxcandles.com/collections/candles-new-website/products/4-wick-50-oz-soy-wax-candle
*New products are all coming in August and will be announced

ON THE BLOG
How To Make Your Candle Last Longer
Seems silly, but yes there is a right way to burn a candle. This goes for all brands, not just ours! While some candles might just look boujie on the shelf, we pride our candles on being aesthetically pleasing AND affordable enough to burn. Get the most out of your candles by following the tips below:
TIPS FOR PROPERLY BURNING YOUR CANDLES:
-The initial burn. When you burn a candle for the first time you need to let it burn for 2-3 hours (depending on the size) so there is an even layer of a hot wax pool covering the entire surface. Wax has a memory, and will continue to burn in the pattern every time. Without allowing the wax to burn an even layer you will start to see a tunnel or an uneven surfaces that will cut the lifespan of your candle.
–Invest in the tools. Using a proper wick trimer and snuffer will make all the difference. Picking off your wick or using scissors will risk the wick being too short or if there are two, they may come out uneven.
-Trim your wicks. Keeping wicks at 1/4″ is important. Before you light up trim your wick. If you see any smoke whatsoever, extinguish the candle, trim, and then re-light. Be careful not to over trim, though. Too short and the candle will not light again.
-Keep wicks upright. If you see them start to droop, you can warm up the wick (don’t light it, just put fire near it), trim it, and straighten it out.
-Discard trimmings. Don’t leave any wick trimmings in the candle. In fact, nothing should be inside the candle. Not only does it ruin the way the wax burns, it’s a hazard.
-Don’t move a hot candle. If there is hot, melted wax in your candle do not move it. The slightest movement will cover the wick, which will ruin your candle. You also don’t want to mess with the whole even layer thing.
-Don’t blow out candles. Either use a snuffer or lid. Simply cover the candle and let is turn off on its own. Blowing out candles causes the wax to become uneven, you can ruin the wick, and you’ll have all that nasty black smoke.
-Light your candles with long matches or a long lighter. Holding your candle to the side and trying to light it with a short match or lighter is going to be a disaster. You won't be able to get to the wick when the candle gets low, and if there are two wicks, you won't be able to light them both at the same time. This is again going to mess with the wax, or get black soot onto your candle glass.
-Watch your burn time. Do not burn your candle for more than 4 hours without allowing time to cool. If the whole candle goes to liquid the wicks will go to the side, and it won't burn properly after that. Also, the glass can overhead and crack esp. if the wicks go to the side and burn the glass.
-If you have a candle that has gone awry, it can still be saved. You can use a hair dryer on low to even out the wax surface or pop the candle in an oven at 175 degrees for about 5 minutes. These two actions will melt the wax, so that it’s smooth and level across the top again. Scoop out any wax that flows over the wick.
Candle Tools: https://a.co/fgZ1EuB
*amazon affiliate link
ON THE BLOG
Candle Making at Home: Tips from the experts
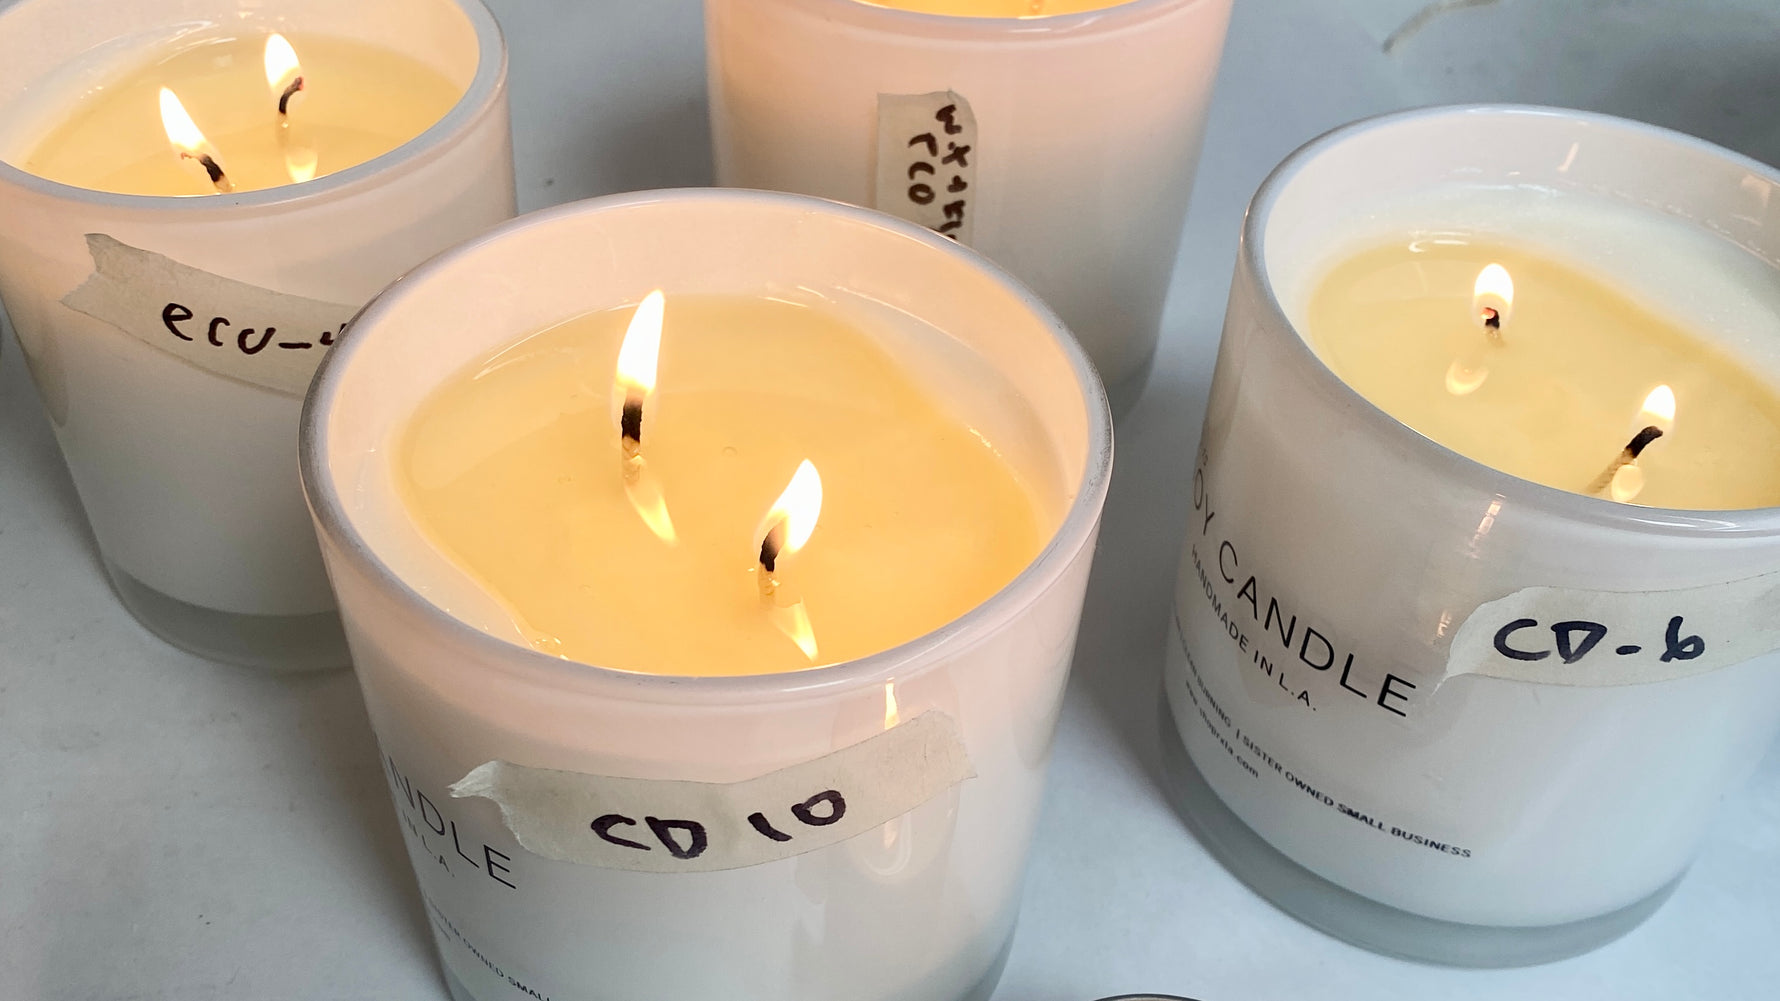
How many wicks does my candle need?
CLICK HERE to check out the full article
Do you want to make a candle, but don’t know how many wicks to use? You’re not alone and even professional candle makers have challenges when choosing the perfect wick setup. In this guide, I will explain how I would suggest wicking a candle for an absolute beginner.
It would be ideal to start with a jar 3” or less and 1 wick. This will show how one wick performs on its own. Once you’ve poured your one wick candle let it harden overnight. Now you’ll perform a test burn. When the wick is lit, the wax should ideally pool to the edges within an hour or so.
There are 3 possible outcomes of this test burn:
-It’s perfect! It burns (pools) the wax to the edges in 45 min. to an hour or so. Awesome, well done!
-It pooled to the edges in less than 45 min. The wick may be too large for this jar. The jar may get too hot, crack, and/or make the jar black. Solution: size down your wick and repeat your test burn with a smaller wick.
-It didn’t pool to the edges after an hour. The wick may be too small for the jar. A wick too small will cause your candle to leave wax on the edges and tunnel down or even put itself out. Solution: size up your wick and repeat your test burn.
Now larger candles won’t be so daunting. Now that you know how big a pool of wax one wick makes, all you have to do is see how many of those pools would be required for a larger jar. For example, if your 1 wick candle was 3” in circumference and the larger jar you want to wick is 9”, start with 3 wicks then do a test burn. The same possible outcomes above will determine where you go from here.
Here I used 3 wicks (the same wick size as my 1 wick candle) for our new XXL 50 oz jar. As you can see it is not burning to the edges within an hour or so. At this point, I stopped the test and used my “hack” to insert new wicks.
I re-wicked my XXL candle jar using the same wick but I added a fourth one. I’m happy with the result.
My general rule is to use 1 large wick for jars smaller than 3” in diameter, 2 medium-sized wicks for a jar 3-4” in diameter, and 3-4 medium or large wicks for jars larger than 4”. To be clear, this is very general and the number of wicks used depends on how large a pool each wick makes. The more wicks you use, the more potential there is for them to not burn evenly. We prefer to stick with 4 wicks or less.
BONUS! THE TEST BURN HACK
Test burns are important, but kinda a pain. My “Hack” makes it easy to test a jar without having to burn the candle all the way down.
We usually would glue our wicks down, but with this hack, you will wick upside down. This will allow you to pull out and replace the wicks of your test burn candle.
After an unsuccessful test burn, I pulled out the old wicks. I used a heat gun to even out the top layer of wax. I could have also filled it with more wax. Then I poked holes where I wanted my new wicks and placed the wicks in the wrong way. The candle was good to re-test in about an hour.
Don’t worry if your candle isn’t perfect on the 1st try. You’ll get better the more you play.
*Please note that this is only for test candles. The wick will not be stabilized at the bottom and should not be left unattended.*
-Jocelyn Levine at Rx Candles


ON THE BLOG
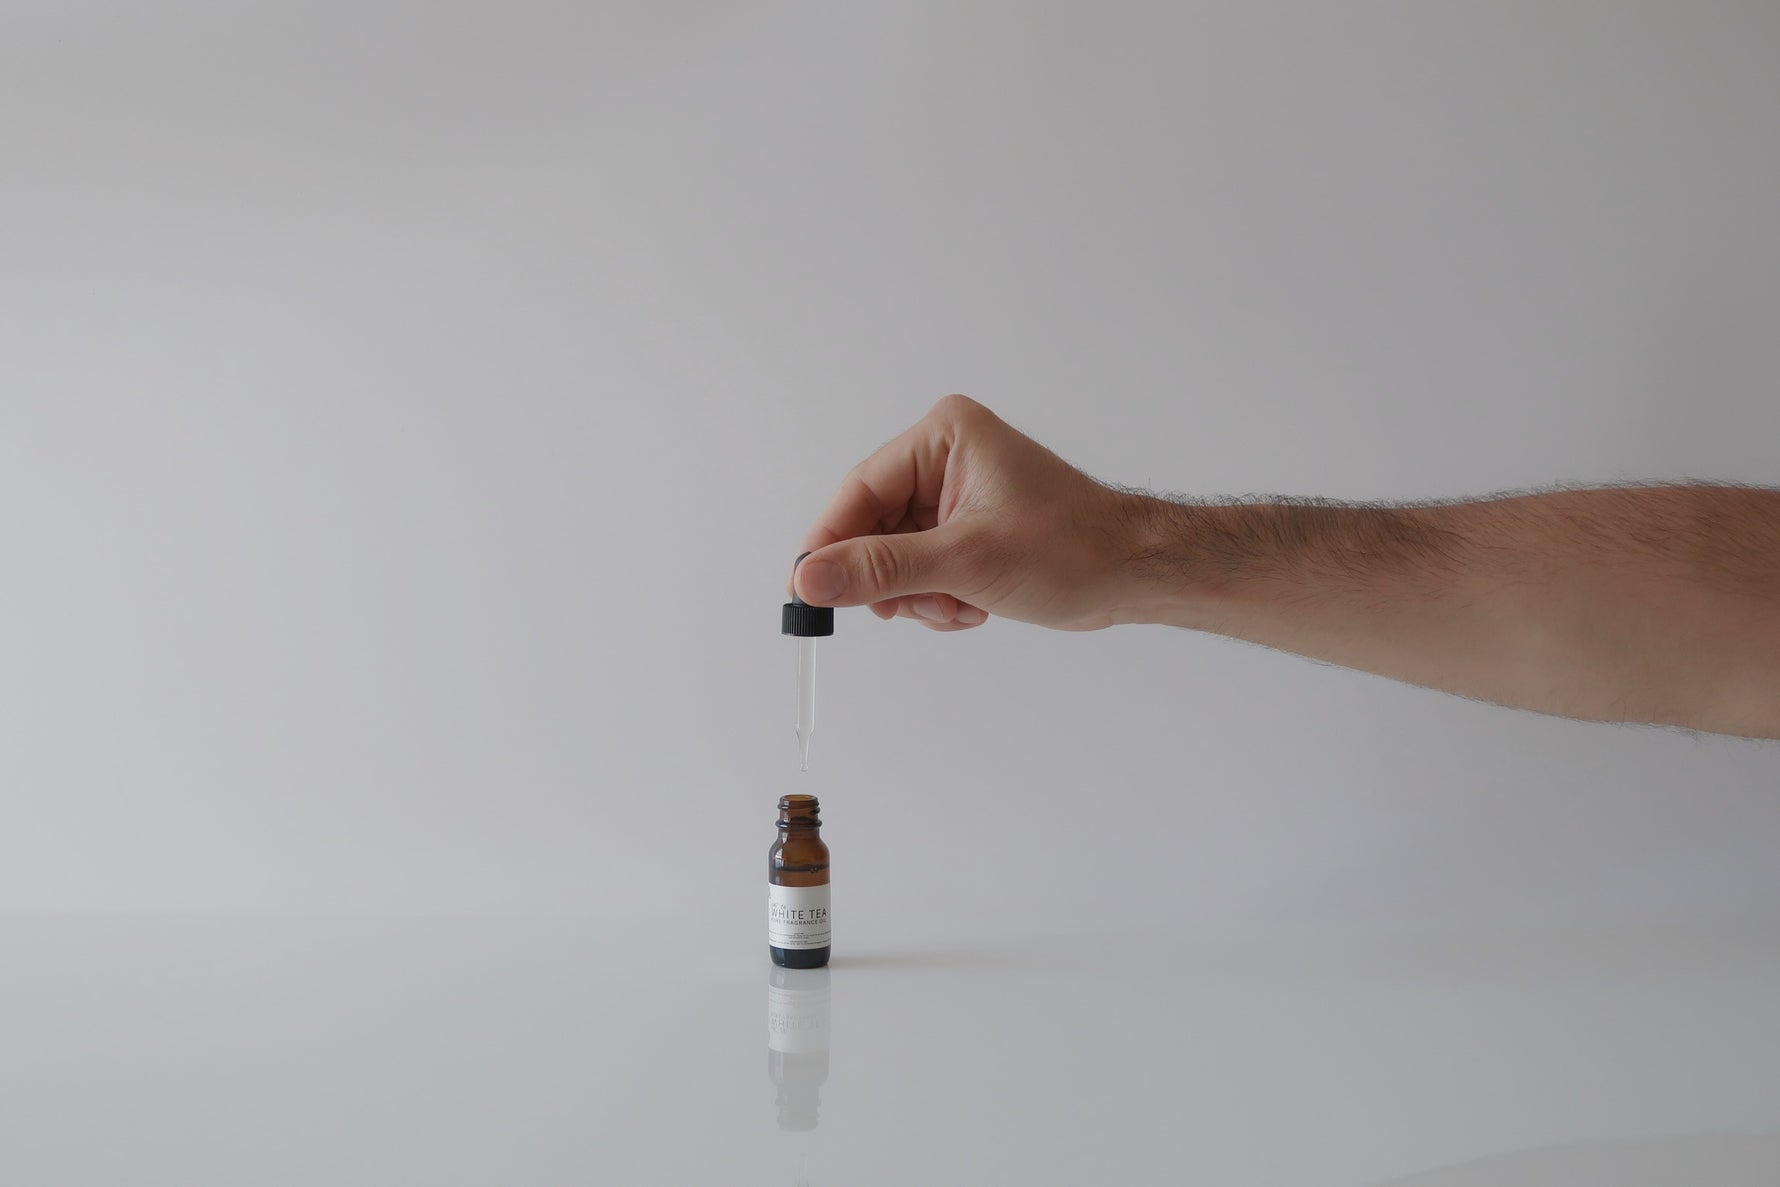
What Is The Difference Between Essential And Fragrance Oils?
Essential vs Fragrance Oils